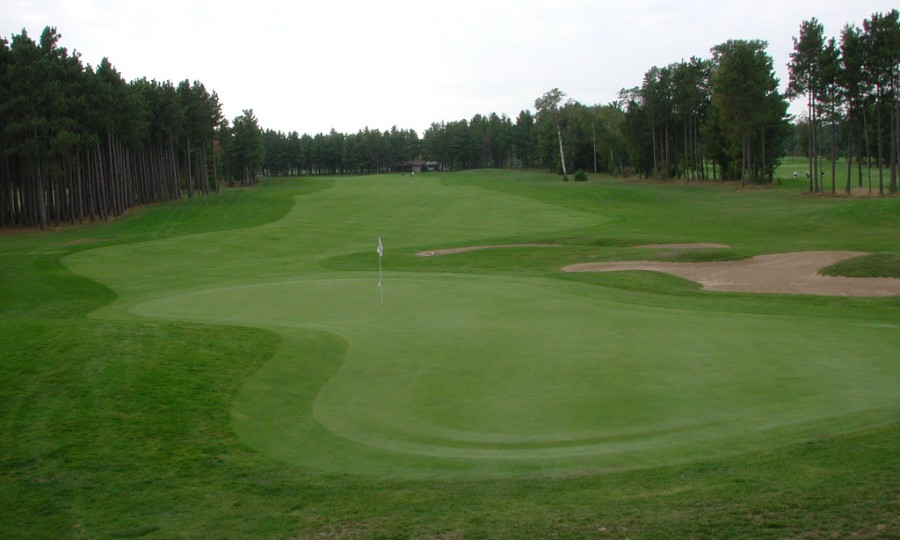
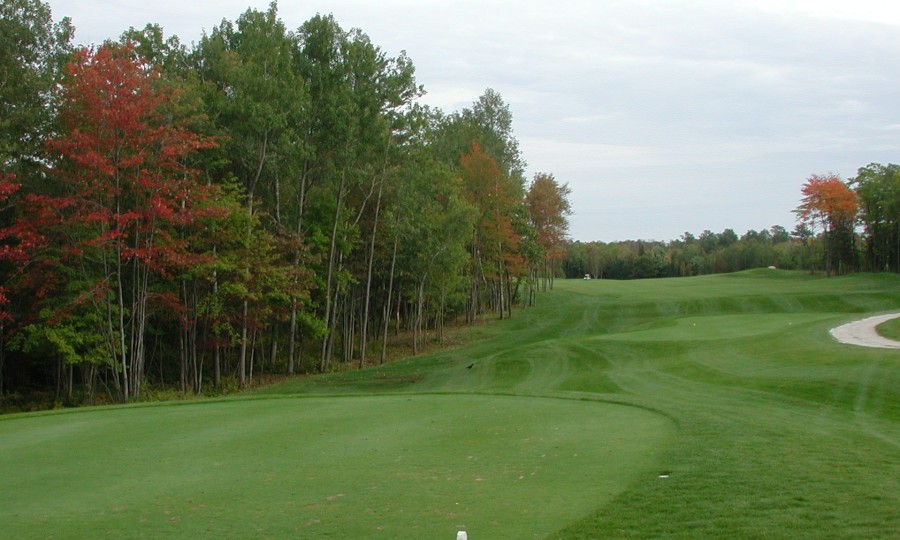
A great opening hole this long Par 5 has a generous amount of space between the Red Pines lining both sides of the fairway, to give the golfer confidence from the tee. The fairway is fairly narrow and finding the short grass from the tee will require a well-placed tee ball. A shot finding the putting green is long and narrow and features a few gentle slopes to test your putting skill.

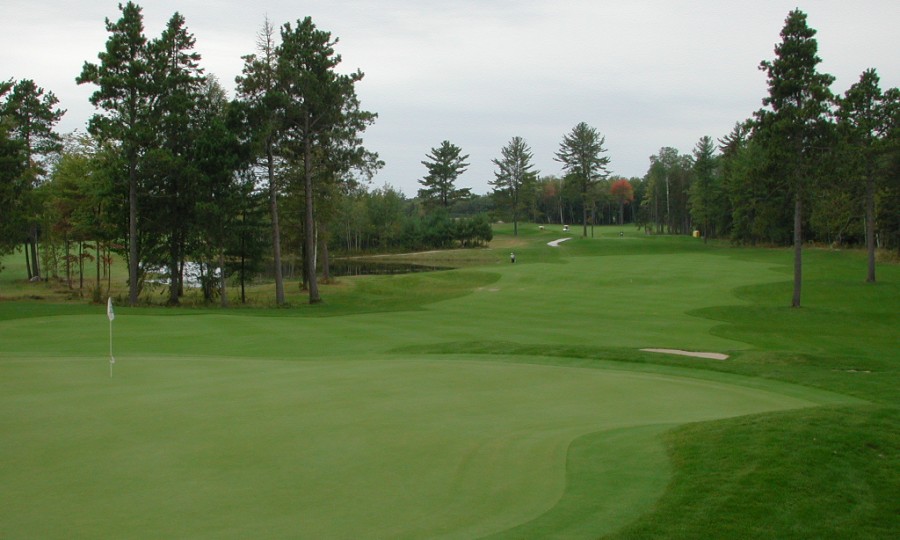
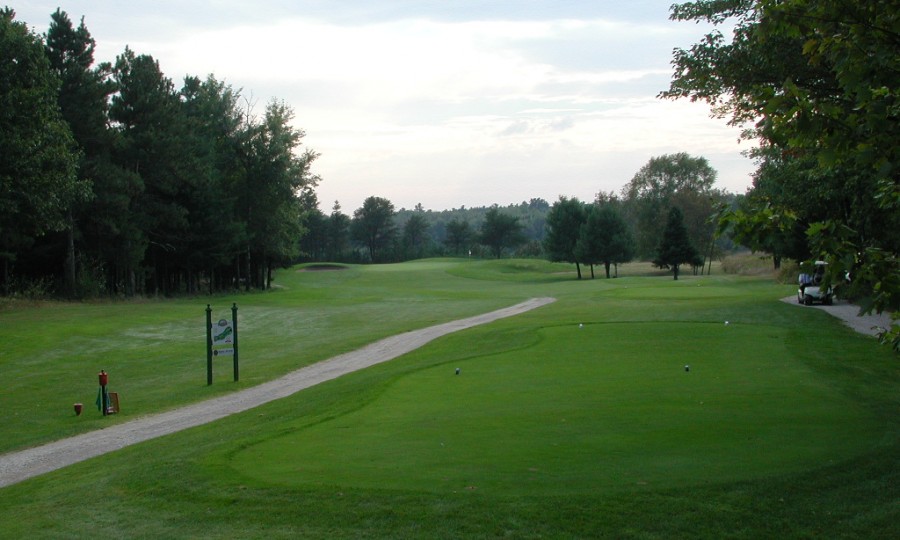
This straight away slightly uphill Par 4 is fairly short. The big hitter has an opportunity to reach the green from the tee with a well struck tee shot. It serves as a great hole early in the round to boost confidence and get your round off on the right foot.
The tee shot on this hole is best played to the left centre of the fairway as a large tree protects the corner of the dogleg on the right side. Fairway bunkers protect the left side of the fairway but only come into play for the long hitter.
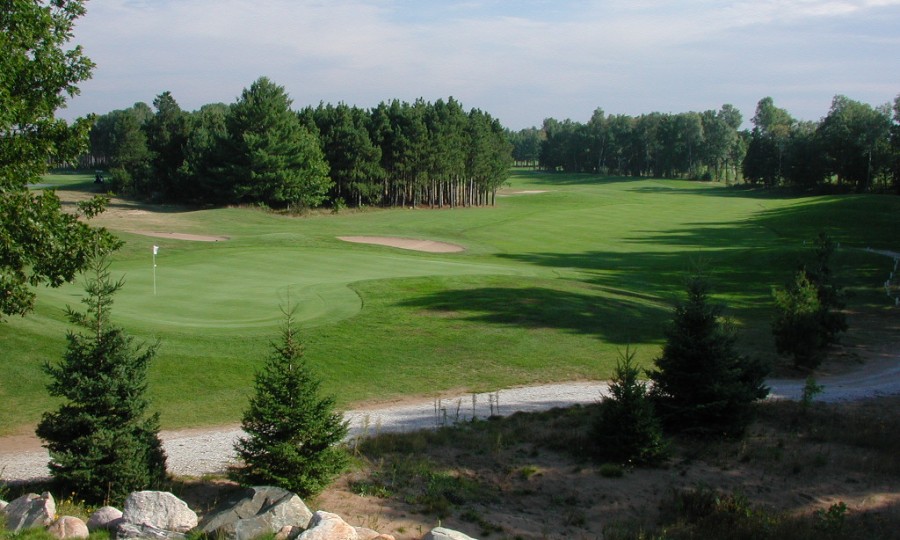
If the conditions are right, the big hitter can drive through the landing area allowing the ball to roll down to the second level of the fairway in front of the green making the second shot considerably easier.
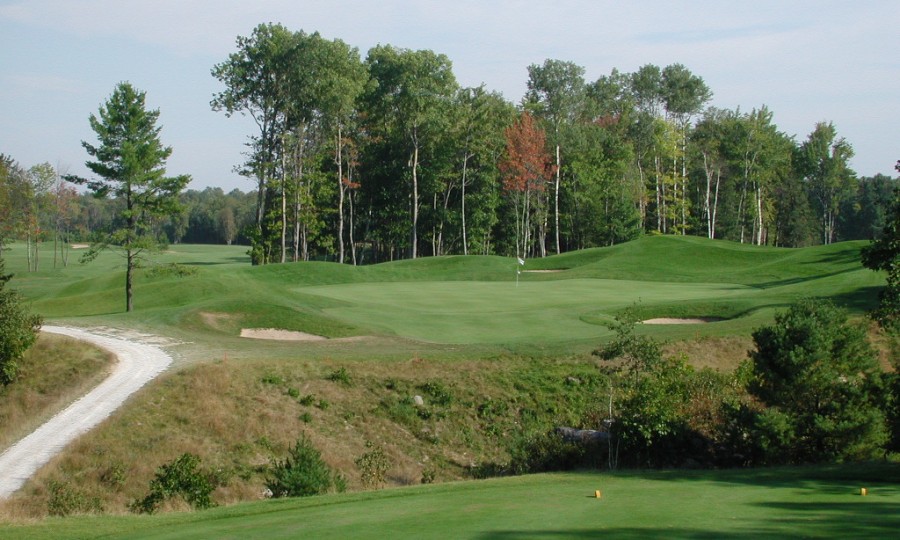
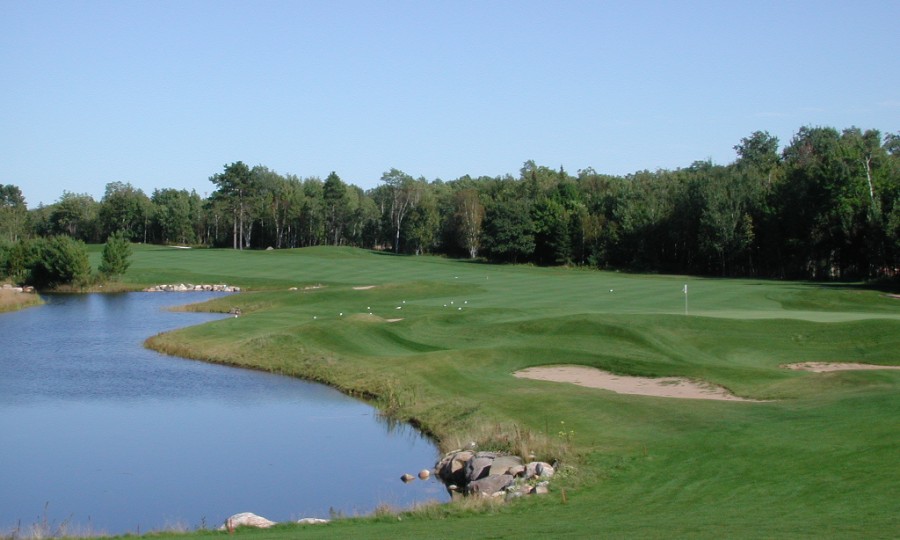
A pretty setting for a golf hole, don't let the surroundings distract you or a big score can be made very easily.
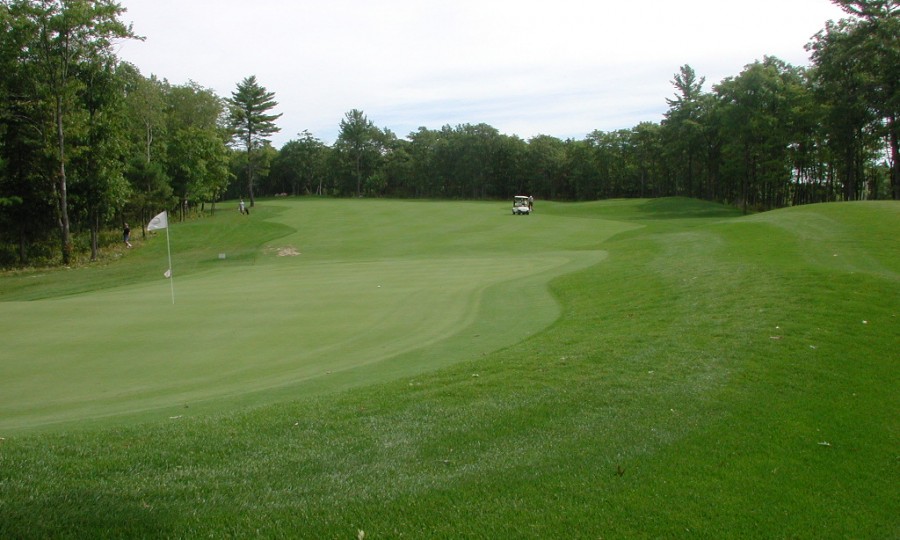
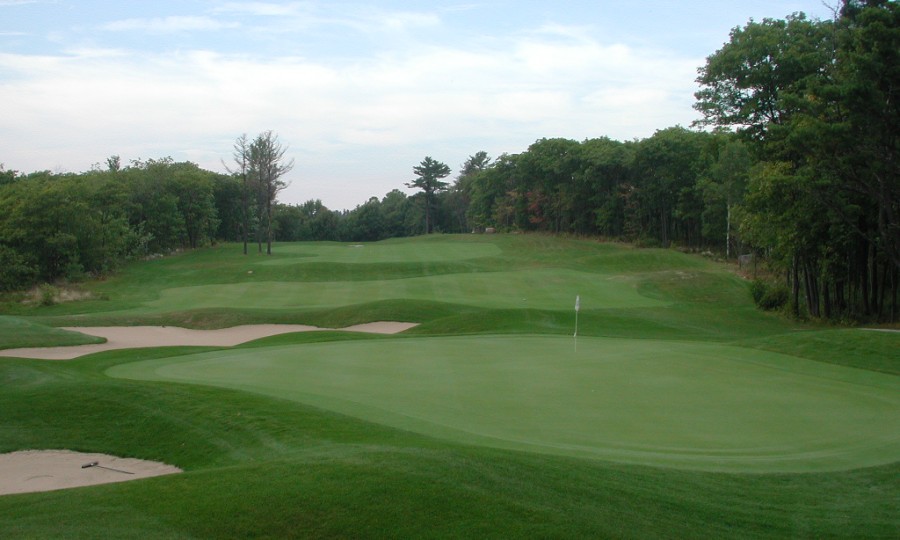
Putting can be difficult on this green if played from above the hole. Stay below the hole especially when the pin is cut in the back portion of the green.
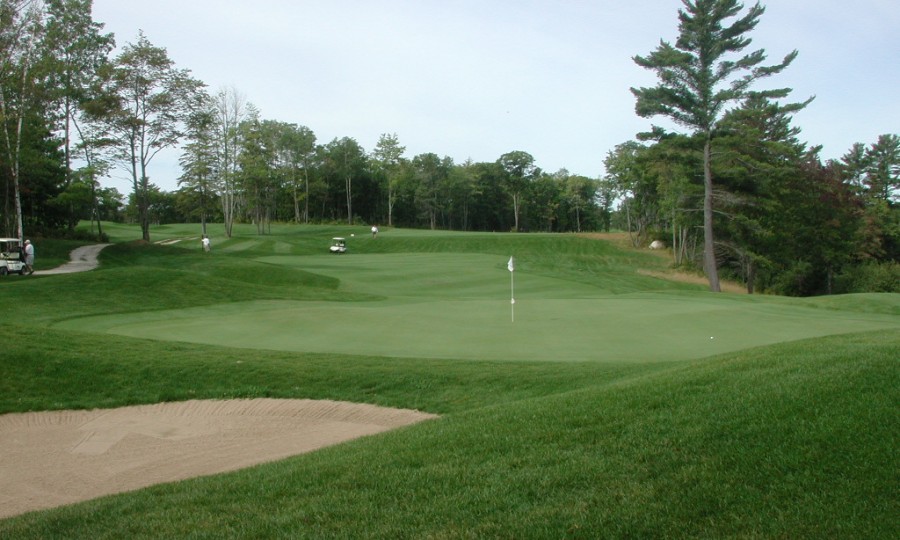
If the pin is cut on the front left part of the green behind the bunker, there is very little room for error. The putting surface of this hole also has a number of swales running throughout, making it an interesting hole to putt on.
The putting surface is relatively flat with the exception of the back right corner of the green, which is elevated approx. 2 feet above the rest of the putting surface.
The player will be required to hit a long iron or fairway wood to a green that is well protected by two large bunkers one in front and one to the right.
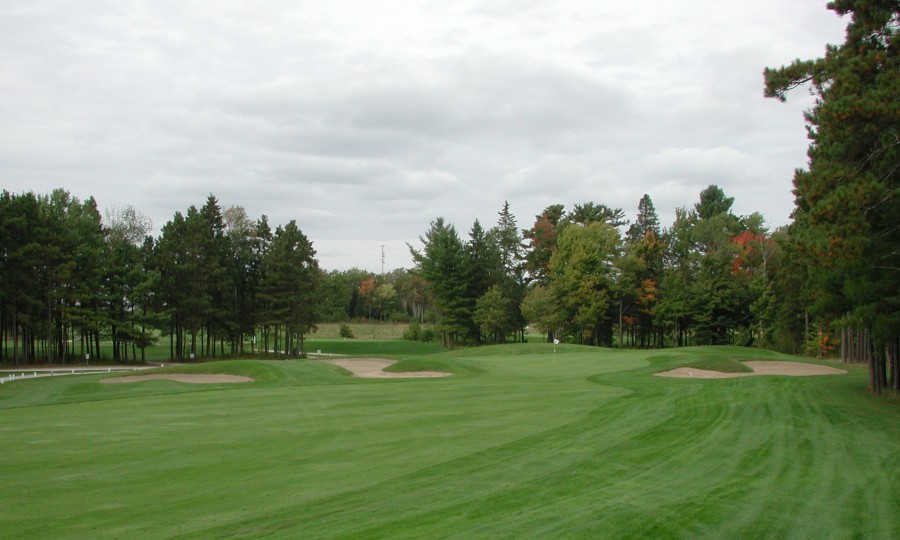
The putting surface has a "ledge" running through the middle and features two very demanding pin locations, one on the top right portion and one in the back left portion of the green.
The eleventh hole is a dogleg right slightly uphill Par 4 that demands a solid tee shot. The best play from the tee is to try and stay close to the corner of the dogleg to reduce the distance required for the second shot. The landing area is generous enough but doesn't seem that way when looking from the tee.
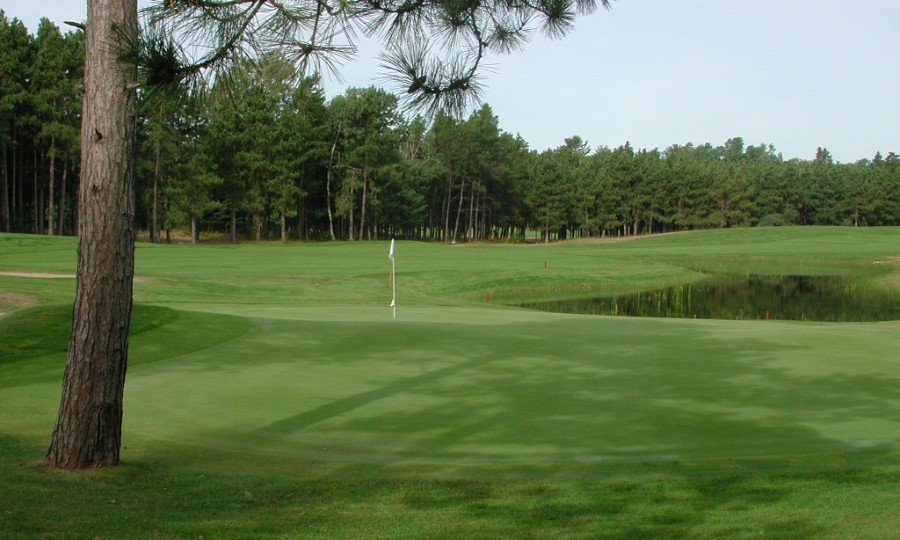
The putting surface moves up hill gradually from the front of the green to the middle then moves down hill towards the back of the green. Be careful when the pin is cut tight to the front of the green, as the water looms close by.

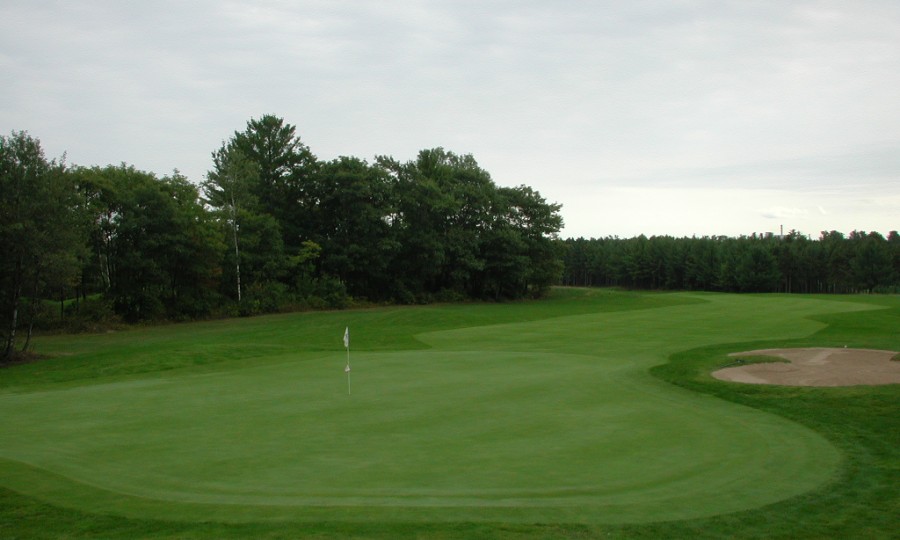
The green moves gradually downhill from left to right and any pin placement cut in the front portion of the green behind the bunker should be avoided. If you place your shot on the wrong side of the green you will be faced with a fairly lengthy putt.
The landing area is narrow and often a tee shot played to far left ends up on the mounding through the fairway that will create a side hill second shot.

The landing area is slightly down hill and is not visible from the teeing ground; only the top portion of the flagstick is visible from the tee. A well-struck tee shot will set up a short to medium iron to a slightly elevated green.
The green is intersected by a swale on the left side making a back left pin location a difficult one. The rest of the green is reasonably easy to putt. Birdies are abundant here if the right club selections are made from the tee and coming into the green.
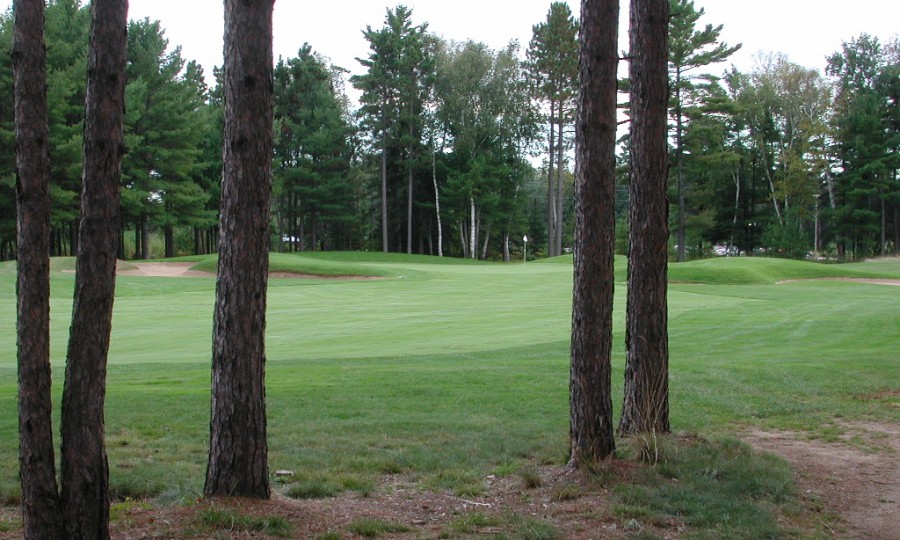
The green is slightly elevated and is accessible from the front. A player can often roll a ball onto this green providing some relief after having to play a long club from the tee.
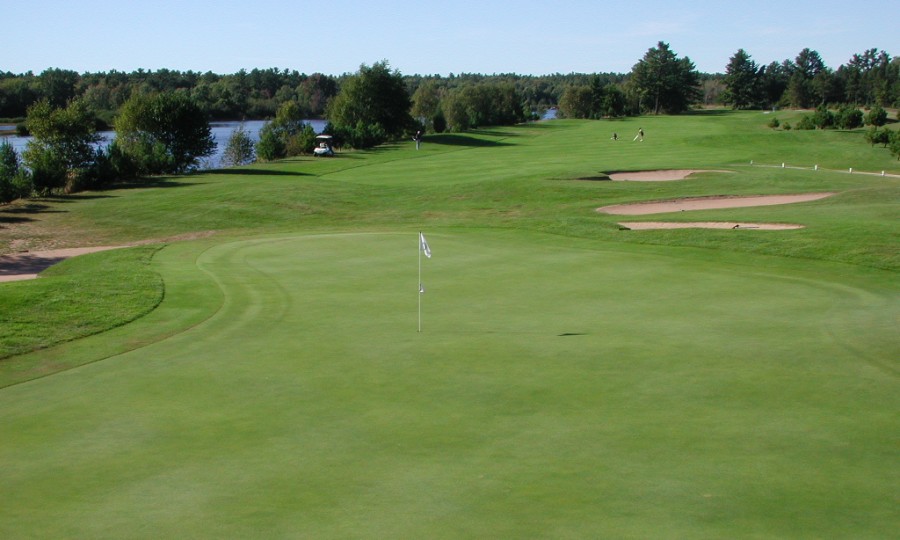
Considered by many as one of the best finishing holes in Northern Ontario this long Par 5 is situated along the banks of the Mississauga River. The river comes into play from the tee to the green. Out of bounds protects the left side of this fairway as well, forcing the player to be careful with their tee shot.